Pika Art AI Upload Image: How to Turn Images to Videos
In this guide, I’ll walk you through the steps of using Pika Art AI to transform your static images into dynamic videos. This quick tutorial will show you how to upload an image, apply some simple camera effects like zoom, and render it into a video.
By the end, you’ll be able to easily convert your images into engaging animations.
Convert Image to Video using Pika Art AI?
Step 1: Accessing the Pika Art AI Dashboard
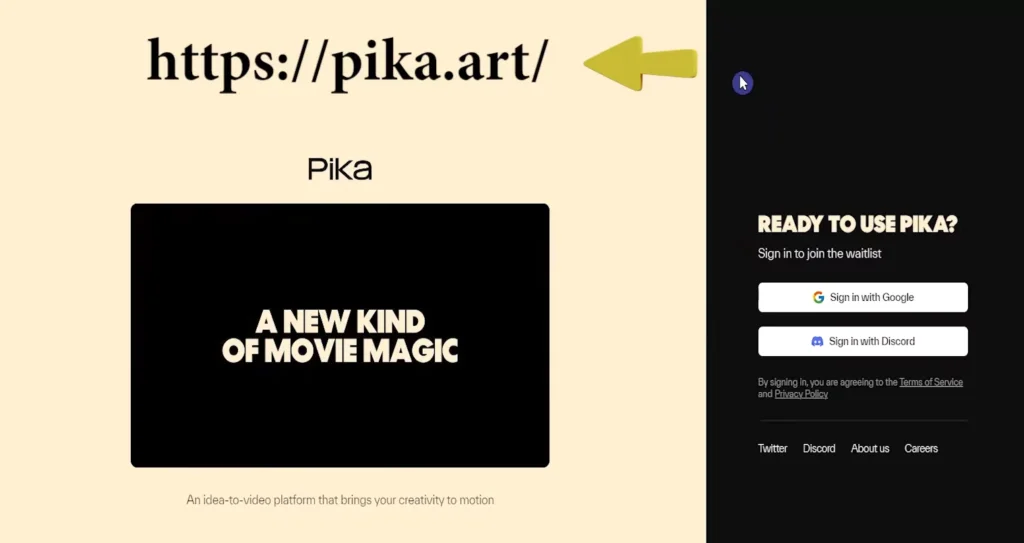
To begin, you need to be on the main dashboard of your Pika Art account.
Here’s how to get started:
- Log in to Pika Art: Once logged in, you’ll be directed to the main dashboard.
- Navigate to Your Library: Scroll down to the bottom of your library, where you’ll see the option to add either an image or a video.
Step 2: Uploading Your Image
Now, let’s move on to uploading the image you want to turn into a video.
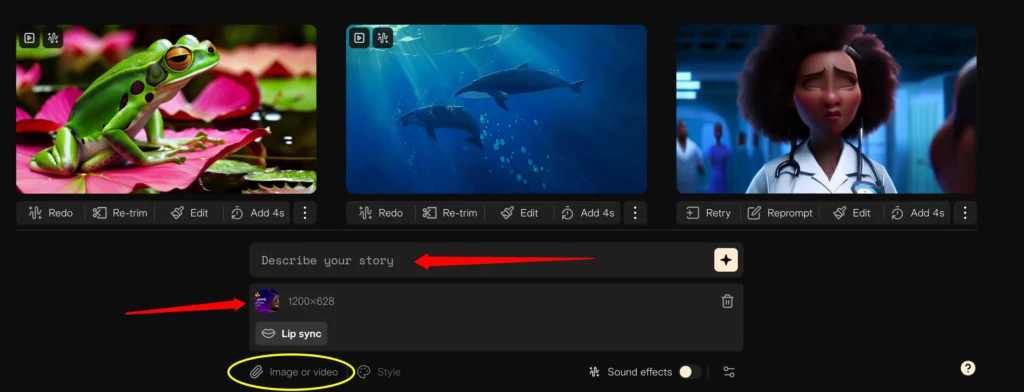
1. Click “Image or Video”:
On the bottom section of the library, you’ll see the “Image or Video” option. Click on it to open the file selection menu.
2. Select Your Image:
Choose the image you want to upload from your device. Once you’ve selected the image, it will appear in your workspace.
At this point, you’ve successfully uploaded the image, and you’re ready to start working on turning it into a video.
Step 3: Applying Camera Motion Effects
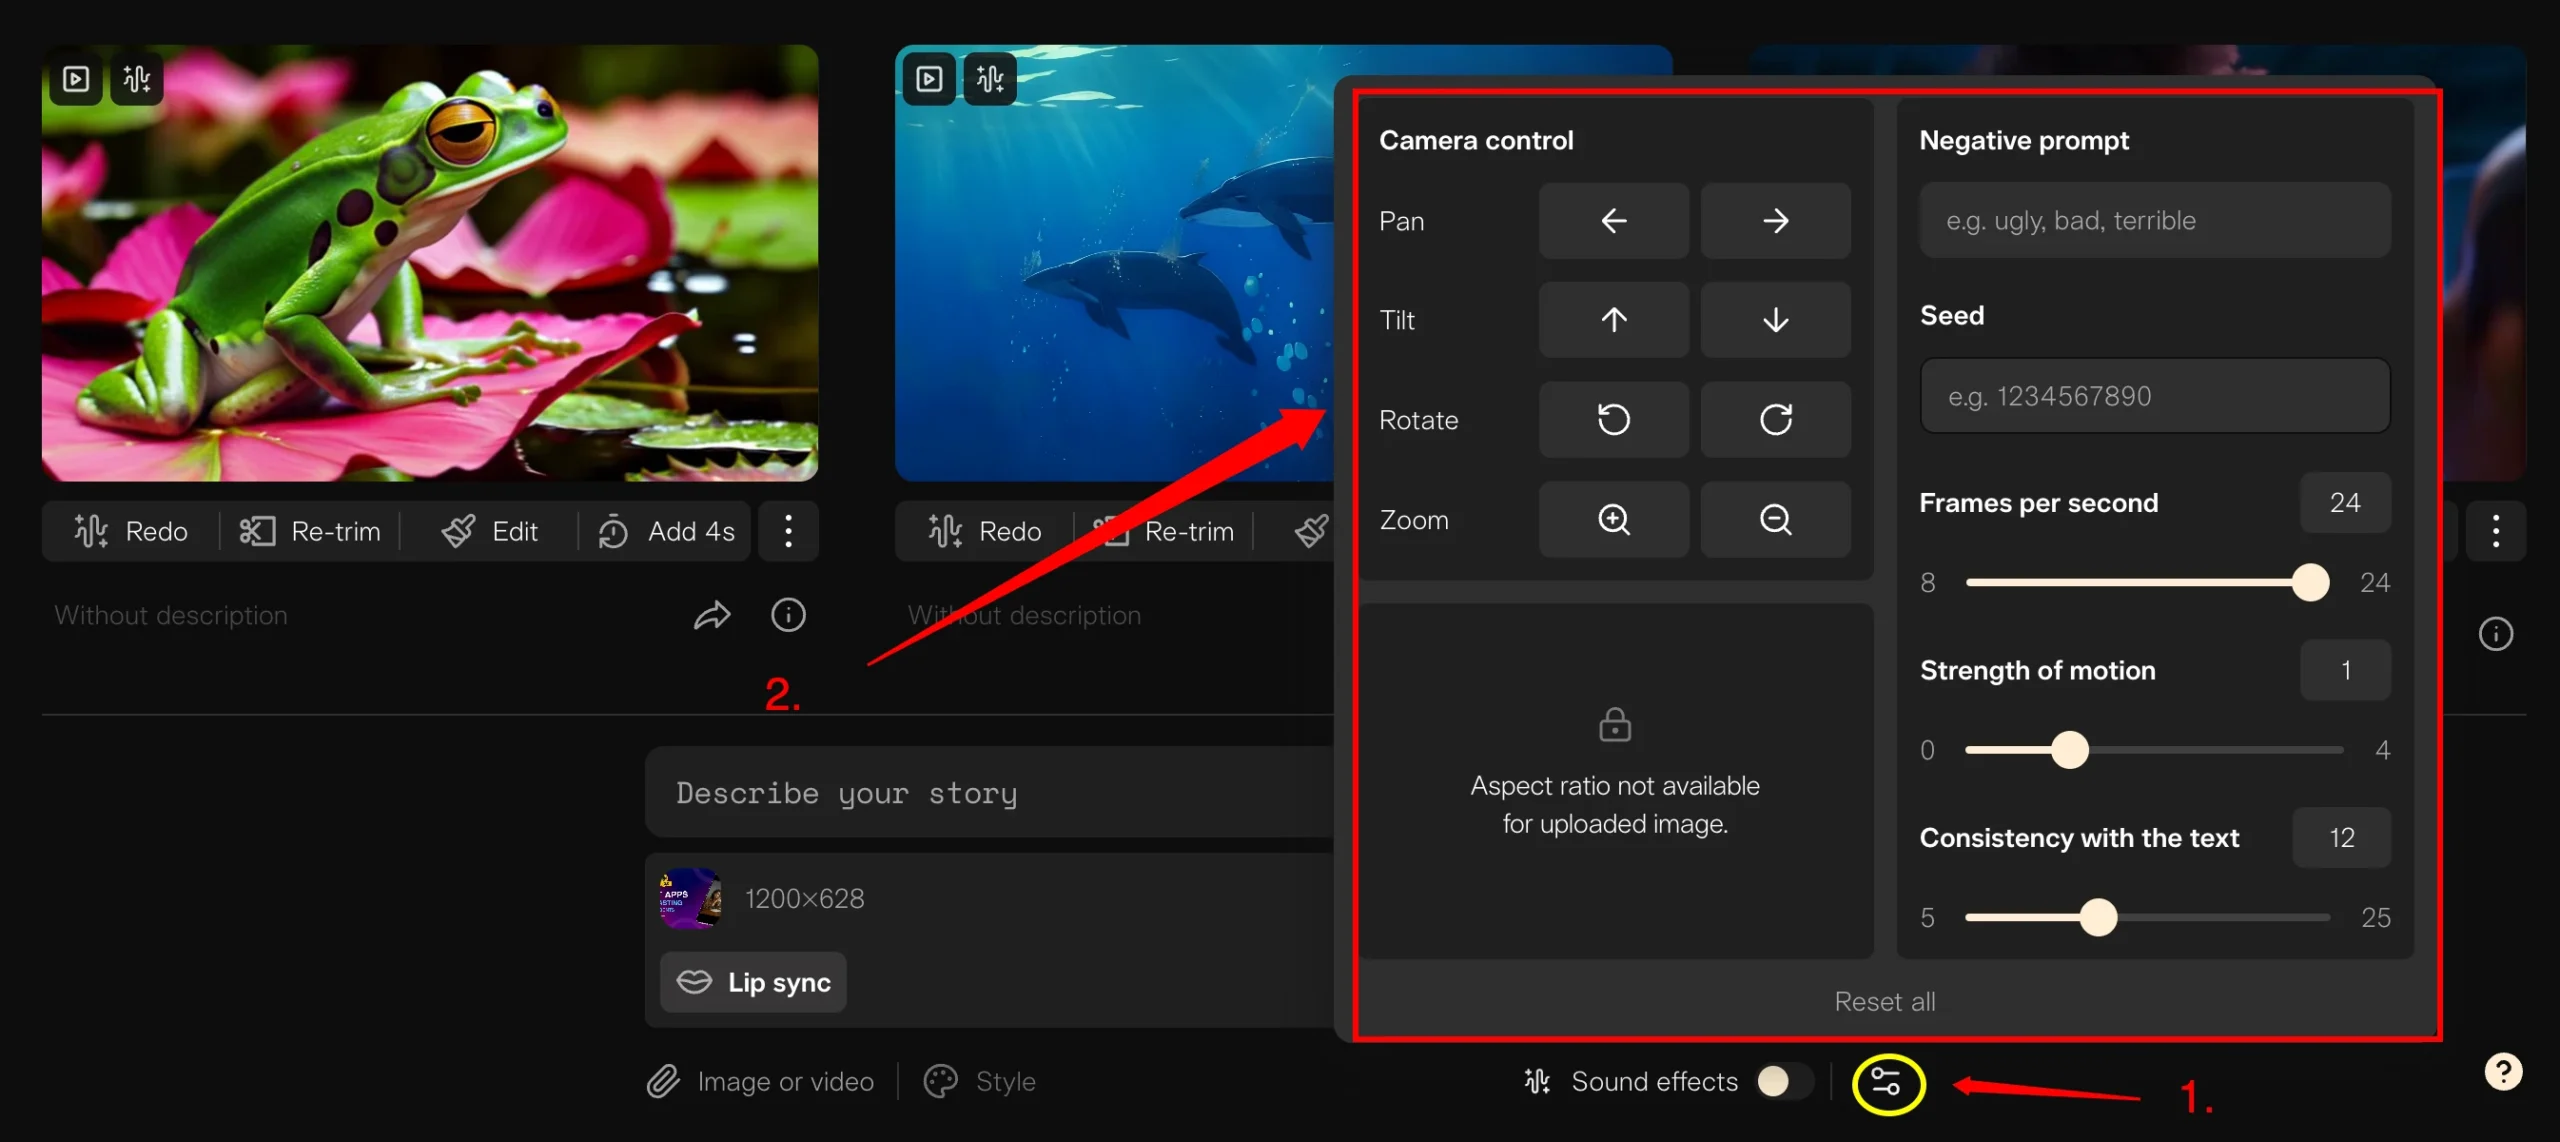
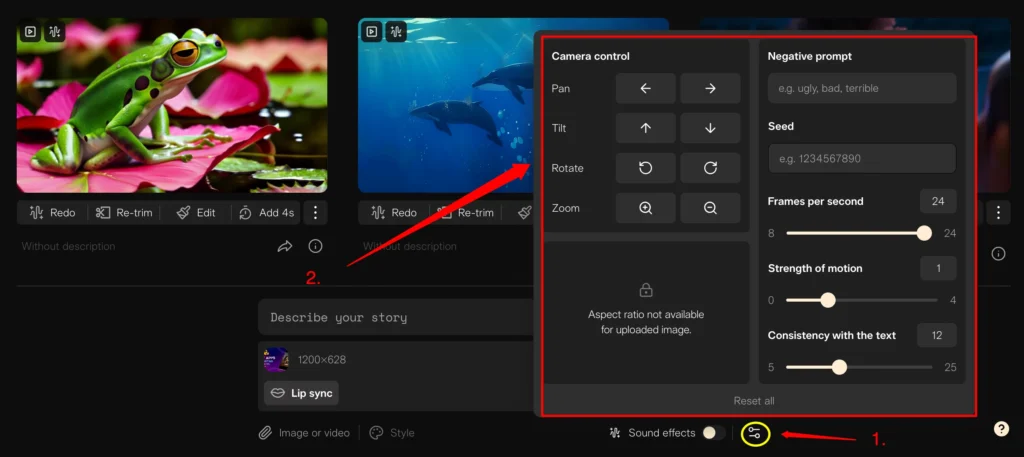
Once the image is uploaded, Pika Art allows you to add simple camera movements to make the final result more dynamic.
- Using Motion Control:
Zoom:
By default, Pika Art will apply a zoom effect. If that works for your video, great. You can proceed with it.
Pan and Tilt Options:
You can also experiment with pan or tilt effects, but in this tutorial, I’ll keep it simple with just the zoom feature. These subtle camera movements can make a huge difference in turning a static image into a more lively video.
Step 4: Adding the Image to the Video
Once you’ve set up the camera motion:
- Click the Plus Icon (+): This will add the image to your video timeline, preparing it for rendering.
- Wait for the Rendering Process: Pika Art will process the image and convert it into a video. You’ll see a preview once it’s done.
Step 5: Previewing the Final Video
Once the rendering is complete, let’s take a look at the final product:
Click on the Video: You can now preview the video in a larger view to see how it looks.
Review the Animation: In this example, the image I uploaded had a mermaid on a tropical island, and the zoom effect added a nice touch to the scene. You’ll also notice some other small details like fish in the background.
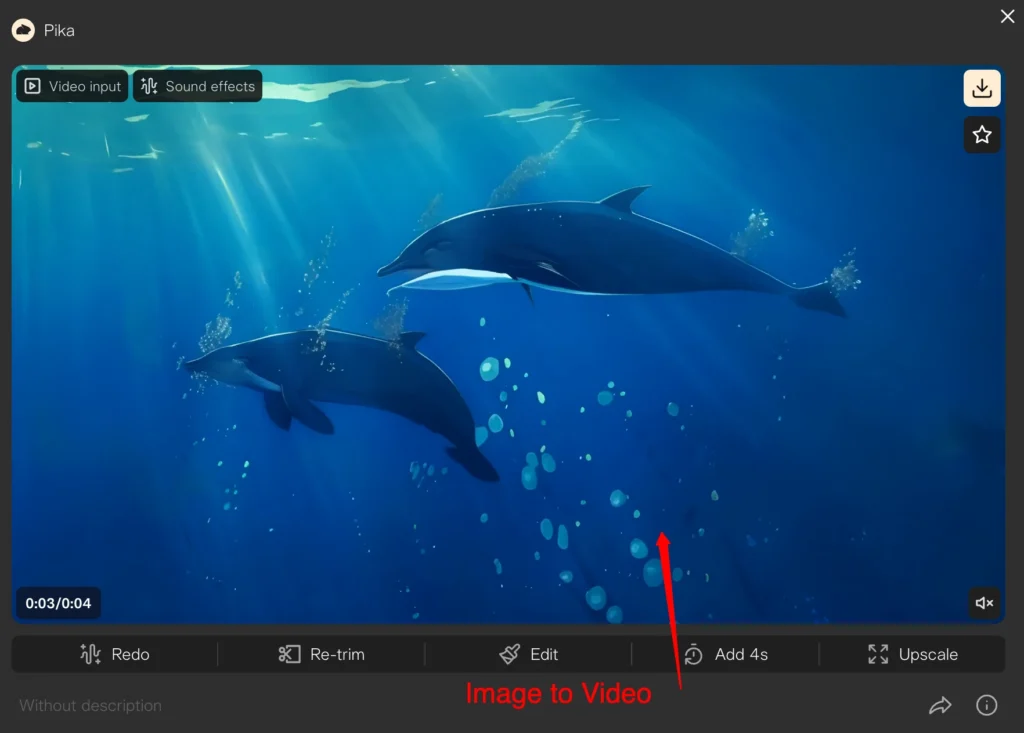
I personally think the result looks fantastic, and it really aligns with my branding.
If you’re adding images for marketing purposes or just for fun, these quick animations can add a professional touch to your visuals.
Conclusion
You’ve successfully turned a static image into a video using Pika Art AI. It’s a simple process that can really enhance your visuals by adding dynamic effects. If you’re using this for marketing materials or just creating some fun animations, Pika Art makes it incredibly easy to bring images to life.
I hope this tutorial was helpful and gave you exactly the information you were looking for. If you want to explore more ways to work with Pika Art, stay tuned for future blogs.
