How to use Pika Melt effect in videos?
If you’ve ever wondered how to give your visuals that cool “melting” effect, you’re in the right place. Pika 1.5 introduces an awesome new feature called the “Melt Effect” that lets you take your images or videos and add a realistic, flowing melt look to them.
This effect is great for creating dramatic, surreal, or even playful content. In this guide, I’m going to walk you through everything you need to know about using the Pika Melt Effect, from setting it up to customizing it.
What is the Pika Melt Effect?
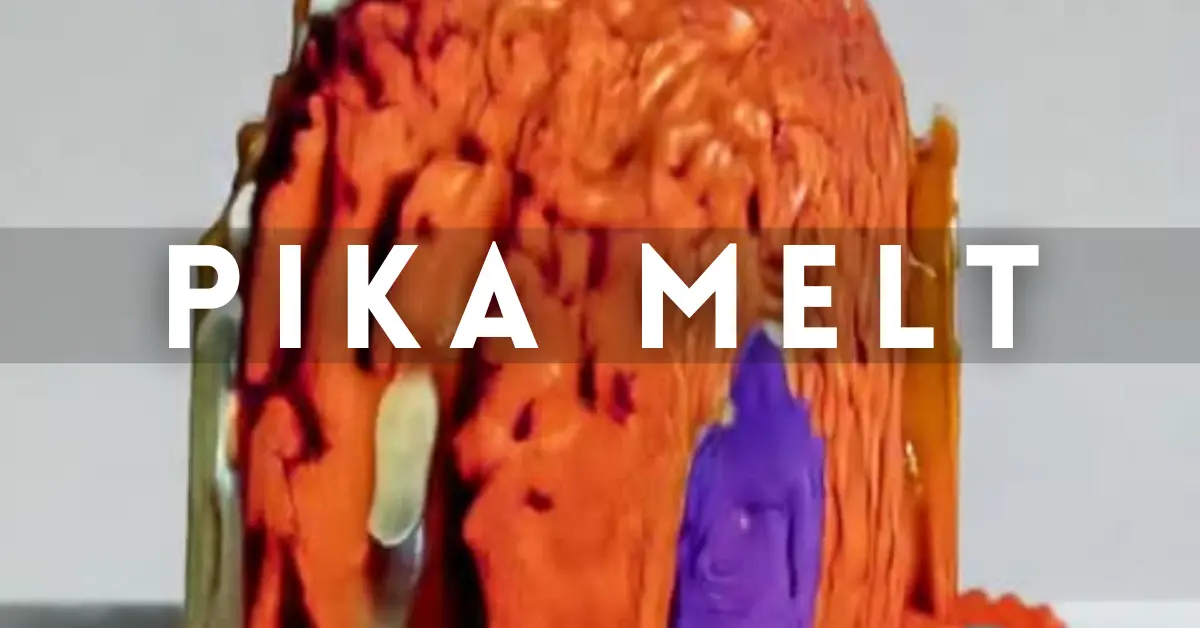
The Melt Effect in Pika 1.5 allows you to apply a realistic melting animation to your images or videos. Imagine an object slowly dripping and losing form as if it’s made of wax or heated plastic. The effect is visually stunning and gives your media a whole new dimension. Plus, you can use it for free, making it an exciting tool for experimenting with your creative ideas.
How to Use the Pika Melt Effect
Let’s get started with how to apply this effect.
Here’s a step-by-step guide:
1. Open Pika 1.5
First, make sure you’re using Pika.art only. You’ll need the latest version to access the Melt Effect and other cool features.

2. Choose Your Image or Video
After launching Pika, pick the image or video you want to work with. This could be anything—a still image, a product shot, a character, or even a simple object. The Melt Effect works especially well on static objects that you want to animate with a dynamic look.

3. Navigate to Pika Effects
Once your media is uploaded, you’ll find an option to add “Pikaffects.” Click on it, and you’ll see a list of available effects, including “Melt.”
Available Effects:
4. Select the Melt Effect
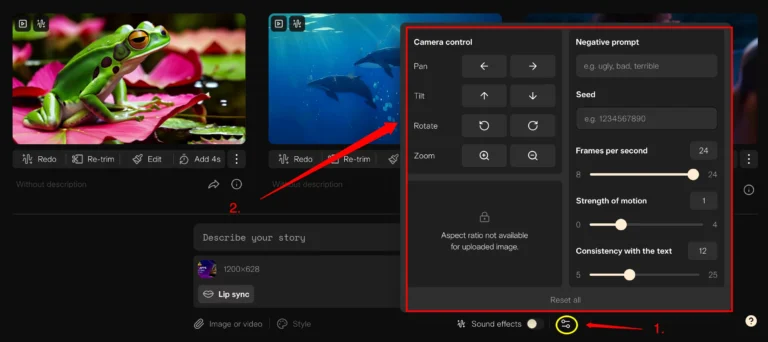
Now, from the list, choose the Melt Effect. You’ll notice the interface gives you a few options to tweak the effect to your liking. You can adjust the intensity, speed, and direction of the melt. Play around with these to see what works best for your project.

5. Customize the Melt
Pika lets you customize the melting process, so you’re not stuck with a one-size-fits-all animation.
Add the following settings in the prompt to get the effect just right:
- Intensity: Control how much of the object melts. You can create a subtle melt or completely transform your subject.
- Speed: Set how fast or slow the object melts.
- Direction: Choose which direction the melt flows—downward, sideways, or even upwards for a more surreal look. These customizations allow you to fine-tune the effect to suit your vision perfectly.

6. Preview and Finalize
Once you’re happy with your settings, preview the effect. Pika gives you the ability to see how the melt animation will look before finalizing it.
This way, you can make any last-minute adjustments without worrying about messing up the final product.
7. Export the Video or Image
When everything looks just right, go ahead and export your video or image. The melt effect will be added seamlessly, and you’ll have a visually striking piece of media ready to share or use in your projects.
Use Cases for the Melt Effect
The Melt Effect can be used in a variety of creative scenarios. Here are a few ideas to spark your imagination:
Product Reveals:
Imagine showing a product that melts away to reveal a new version or surprise element. This is a fun way to create anticipation and excitement.
Surreal Art:
If you’re into creating abstract or surreal art, the Melt Effect can add a layer of uniqueness to your visuals, turning ordinary objects into something extraordinary.
Dramatic Intros or Transitions:
In video content, the Melt Effect can serve as an eye-catching intro or transition, setting the tone for your project in a memorable way.
Tips for Getting the Best Results:
1. Use High-Quality Images: The better the resolution of your image or video, the smoother and more realistic the melt effect will appear.
2. Experiment with Speed and Direction: A slower melt can create a sense of tension or drama, while a fast melt can be more playful or chaotic. Don’t be afraid to experiment with different speeds and directions to see how they change the mood of your content.
3. Combine Effects: Pika 1.5 lets you combine multiple effects. Try layering the Melt Effect with other visual effects like the Explode or Inflate Effects to create something truly unique.
Frequently Asked Questions
Q1: Can I use the Melt Effect for free?
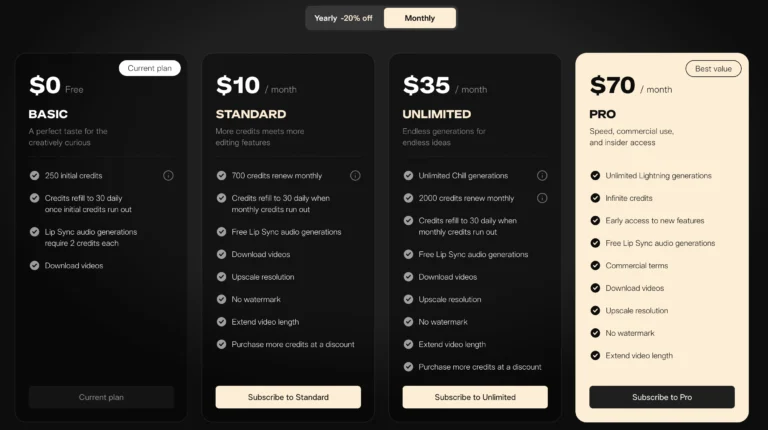
Yes! The Melt Effect is part of Pika’s free offering in version 1.5, so you can start experimenting without paying a dime.
Q2: Can I add sound effects to the Melt Effect?
Absolutely. Pika allows you to pair visual effects with sound effects. You can add melting or dripping sounds to enhance the overall effect and make it more immersive.
Q3: How long does it take to apply the Melt Effect?
It depends on the complexity of your project and the settings you choose. In most cases, it only takes a few minutes to set up and apply the effect. However, high traffic on the platform might slow down the process a bit.
Q4: Can I edit the melt effect after applying it?
Currently, you can’t make changes to the effect after exporting, but you can always preview and make adjustments before finalizing the effect.
Final Thoughts
The Pika Melt Effect is a fun and simple way to bring life to your static images or videos. Whether you’re creating a dramatic scene or just want to have some fun with your visuals, the melt effect offers a fresh way to add personality and creativity to your work.
