Kling AI Lip Sync Guide
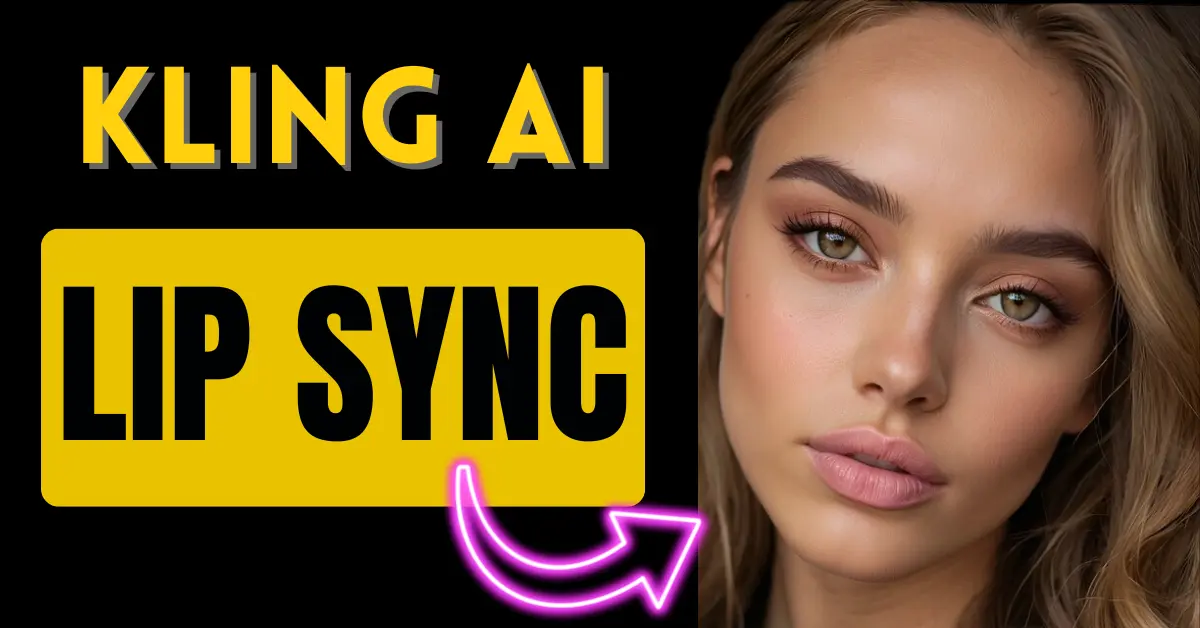
If you’ve been working with Kling AI and looking for a way to easily sync your audio to video, you’re in for some exciting news. Lip Sync is now available in Kling AI!
In this article, I’ll walk you through the entire process of using the Lip Sync feature and show you just how simple it is to get realistic results.
Plus, I’ll share a few tips and tricks to help you get the best out of it.
How to Use the Kling AI Lip Sync Feature? (7 STEPS)
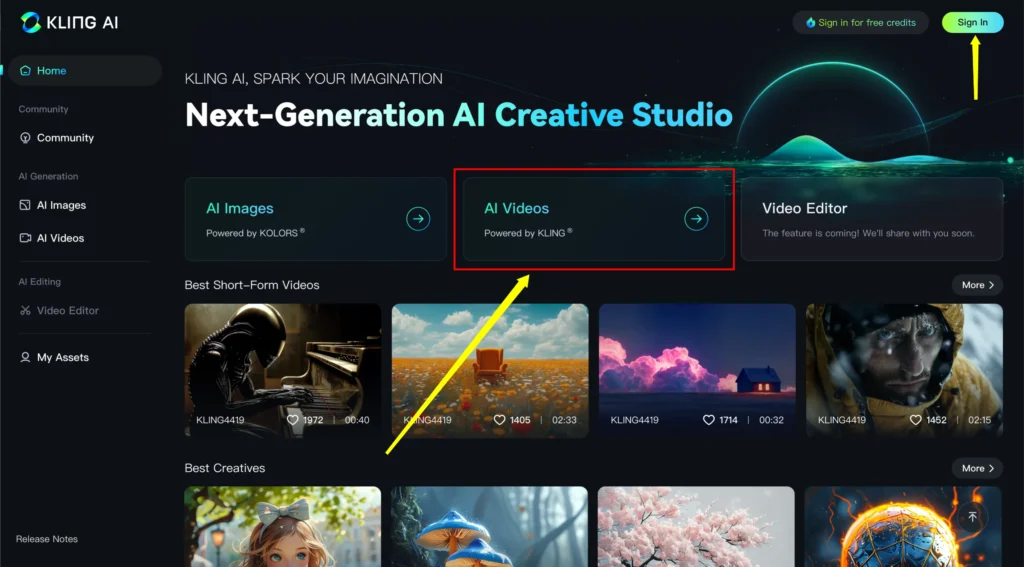
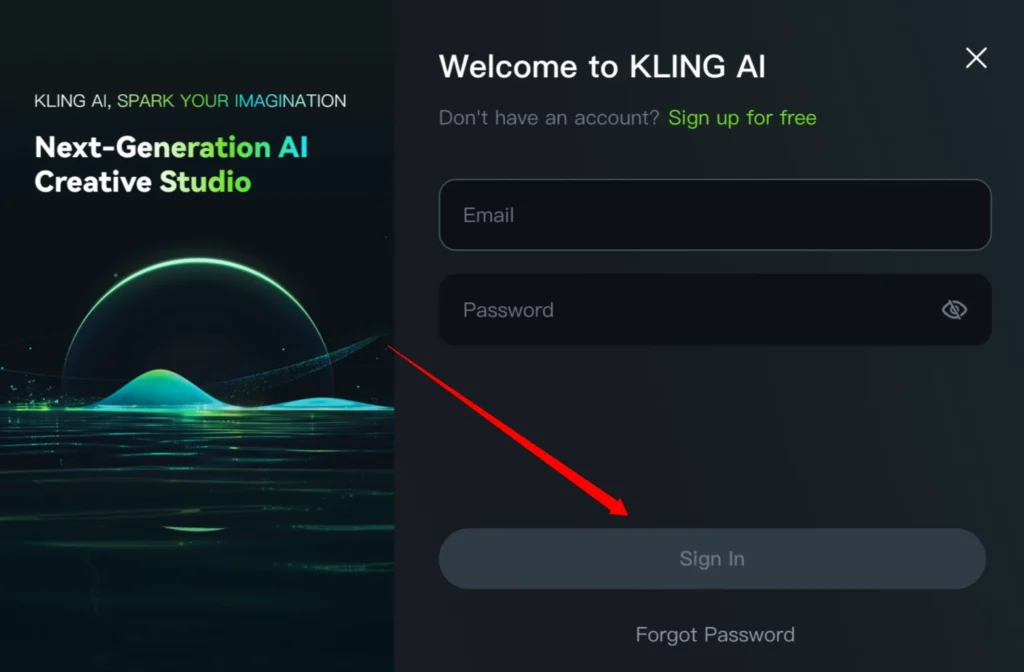
Step 1: Login to Kling AI
To get started, log into your Kling AI account and navigate to the AI video interface.
Step 2: Upload a Base Video
The first thing you’ll need is a base video to apply the lip sync. For my example, I used the “Image to Video” feature by uploading a photo I had generated in MidJourney.
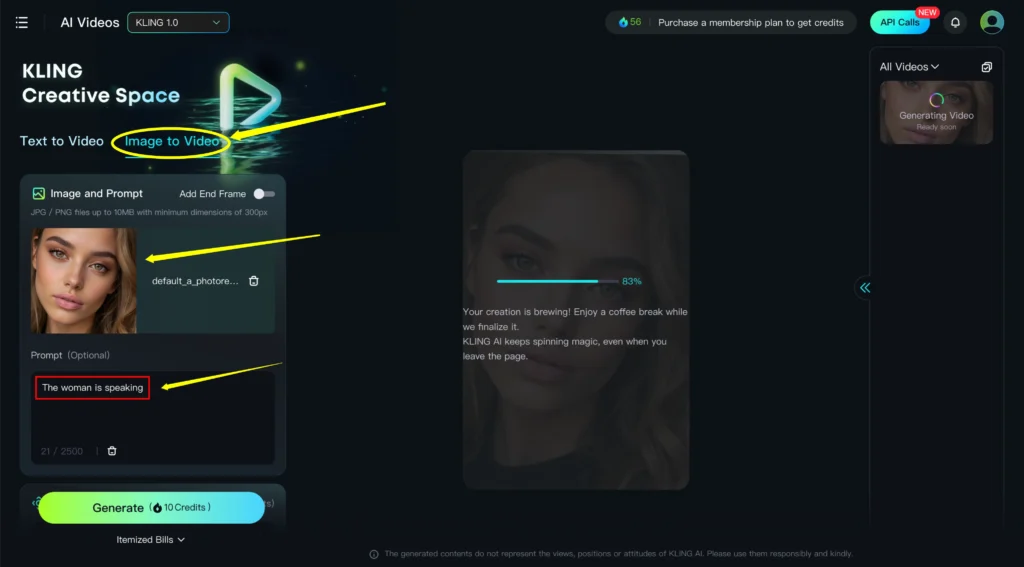
It’s worth mentioning that the easiest video to sync lips to is a close-up shot of someone’s face where their lips are clearly visible.
Step 3: Generate the Video
In the prompt section, you’ll want to enter something like “the woman is speaking” or anything similar that fits the scenario.
Once done, hit the Generate button.
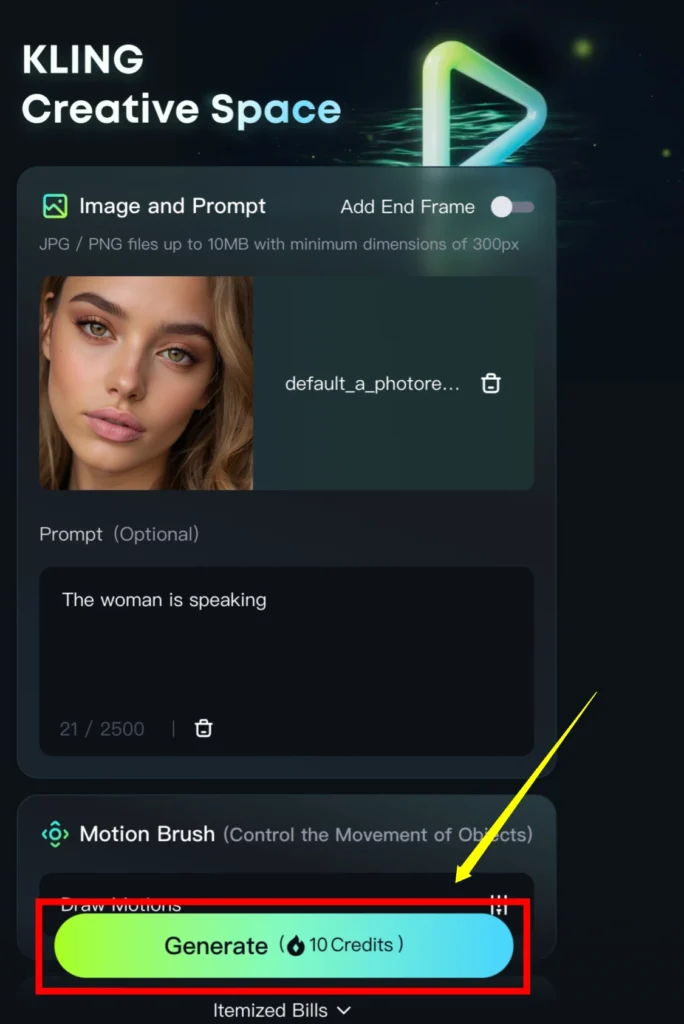
This will create a video where the person is facing us with a clear view of their lips moving.
Step 4: Match Mouth Type
Now, to apply the lip sync, click on the Match Mouth Type button. The AI will spend some time analyzing the video to ensure the lip sync will work properly.
Step 5: Upload the Audio
Once the analysis is complete, you can upload your audio file. If your audio file is longer than the video, the system will give you the option to crop the audio to fit the duration of the video.
In my case, I decided to remove the longer audio file and upload a shorter one instead.
Step 6: Start the Lip Sync Process
With everything set, just hit the Lip Sync button, and the AI will begin the process.
The system advises that it can take up to 10 minutes to complete, but in my experience, it often finishes in 5 minutes or less.
Step 7: Final Result
The final lip sync result looks really natural. If you look closely at the lips and teeth, there might be some slight blurring, but the overall effect is crisp and realistic.
Sure, someone with a keen eye might be able to tell it’s AI-generated, but they would have to look carefully to notice.
Troubleshooting and Redubbing
If you’re not happy with the results or simply want to try a different audio file, there’s a Redub button that allows you to re-upload your audio and try again.
This flexibility is great for ensuring you get the best possible output.
Using Lip Sync with Different Animation Styles
You may be wondering how this feature works with different animation styles, such as Pixar-like or anime characters. Here’s what I found:
1. 3D Animations:
These work well with lip sync, especially when the character’s head is visible and moving slightly. The AI can still sync the lips even when the head turns quickly from side to side, which is quite impressive.
2. Anime Style:
While you can use the lip sync feature on anime-style videos, the results won’t be as accurate as with 3D or photo-realistic videos. The animation can appear choppy, and the lips might not match the words as well.
For the best results, it’s a good idea to use prompts like “subtle motion” or “static camera” to minimize movement during lip sync.
Tips to Optimize Lip Sync Performance
If you’re looking to get the best out of the Lip Sync feature, here are some tips:
1. Use a Close-Up Shot: Make sure the character’s face, particularly the lips, is visible and facing forward. This improves accuracy.
2. Limit Head Movements: Try to avoid characters that move their heads around too much. You can achieve this by using prompts like “static camera” or “subtle motion.”
3. Multiple Characters: The lip sync can work on videos with multiple characters or people. However, if there are multiple faces in the video, the AI will choose one face to apply the lip sync, and there isn’t a way to control which character is dubbed.
For example, I tried using a female voice in a video with both a man and a woman, hoping the woman would be synced. But, the AI ended up syncing the male character instead.
Limitations of the Lip Sync Feature
It’s important to keep in mind that the Lip Sync feature is still in its early stages, and there are a few limitations:
Non-Humanoid Faces:
The AI struggles to detect faces in non-humanoid characters. For example, I tried a 3D water elemental animation and a hybrid dog-human animation, and in both cases, the AI couldn’t detect a consistent face, so the lip sync didn’t work.
Face Detection Issues:
There are certain animations where the face isn’t consistently detected, which means the lip sync won’t apply in those cases.
How to Get AI Voiceover
If you’re curious about how I got the AI voices for the audio, I used 11Labs. It’s a user-friendly platform that offers a vast library of AI voices. You just pick a voice, input your text, and the AI generates the narration for you. It’s free to try.
Try the Pika Art Lip Sync also.
Conclusion
Having the Lip Sync feature available inside the Kling AI platform is incredibly convenient. It saves time by allowing you to manage everything from video creation to audio sync at one place. If you want to learn more about how to get the highest quality videos using Kling AI, feel free to check out my other articles.
